I am not kidding…
…you can actually create a lead capture page (or any page you’d like) WITHOUT having to use a web hosting service such as BlueHost or a cloud-based landing page creator such as Clickfunnels.
Today, in this very short guide, you’ll learn how to…
- Set up your landing page and edit the content as you need
- Set up a custom domain for your landing page
- Publicize your landing page so people can visit it and subscribe to your mailing list.
For this method to work, we will use a few tools. They are…
Why Convertful?
Convertful is an ultimate on-site conversion rate optimization toolkit with many features. Be it a normal opt-in form, quiz, or survey widget; you can create them easily using Convertful.
Learn more about Convertful in this Convertful review.
Why Replug?
Replug is basically a link shortening tool that can embed third-party widgets and tools on the links you share.
For example, with Replug, you can display CTA (Call to Action) widgets on a CNN news article. How awesome is that?
Check out this review of Replug to learn more.
How to Create a Lead Capture Page
We’re going to use Convertful to create a lead capture page. Before designing the lead capture page, you should have these things:
- Own Domain Name: — Purchase a domain name from a website like Cloudflare or NameCheap (or search an available top-level domain using these tools). You will use it for the lead capture page’s domain name. If you already own a custom domain name, you can skip this.
- Email Management Tool or an Email Marketing Software: — There are literally hundreds of email marketing software out there. Some popular ones are Aweber, GetResponse, Convertkit, and ActiveCampaign. You must have email marketing software to manage your contacts (or subscribers).
Steps to Create Your Landing Page
First of all, create a free account over at Convertful. Or you can start a free trial on a paid plan.
After successfully creating your Convertful account, sign in to your account and add a new site.

Please note that you’d receive an alert to confirm your website by placing the Convertful script or installing the Convertful WordPress plugin. You can neglect this message as we’ll do it in a later step.

Next, click on the site name you want to create an opt-in form widget and click on the “Integrations” tab.
Integrate your email service provider over here. You will see all available native integrations.

If your current email service provider is not among available native integrations, you can connect it using the HTML forms feature.
Start Creating Opt-in Form
The easiest part of this tutorial is creating an opt-in form!
Convertful has a WYSIWYG editor, and it’s pretty easy to create a beautiful opt-in form.
For this method to work, we will create a “Welcome Screen” opt-in form.

Here’s one Welcome Screen template.

Once you click the green button to create a welcome screen widget, you will be directed to the Convertful Editor. It is very easy for anyone to use and has some of the best features.

And I have created another screen for subscribers to see right after they sign up. This is optional. You can redirect new subscribers to a separate URL, such as an affiliate offer or a bridge page. It’s your choice.

Once the lead capture page is finished, click on the submit button and select the “Submit” option under the Button Settings. Then click on the “On Submit Actions” button.

The one key advantage of Convertful over other lead form creators is that you can implement multiple functions at one user action.
For example, see the screenshots below.
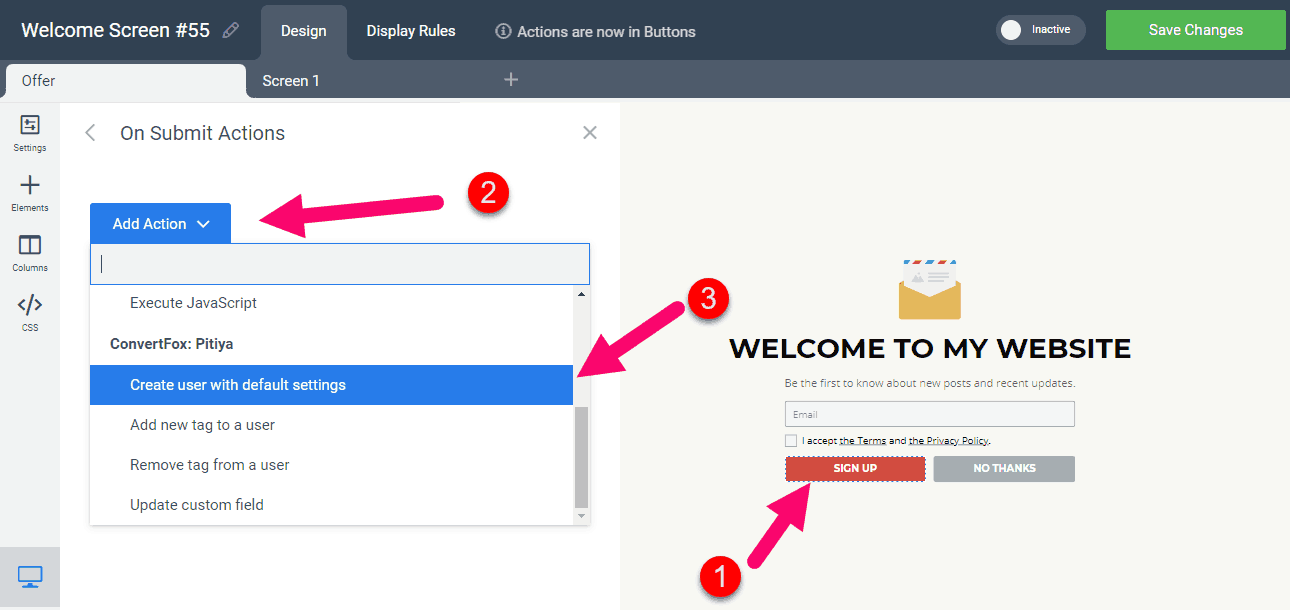
Setting up multiple integrations per one form is easy.

I added these actions:
- Create a user on Gist (my current Live Chat and marketing automation tool). To add a default tag, I have set up default settings under the Gist settings in my Convertful integration. So, in Gist, the user will be automatically tagged and subscribed to a specific drip campaign.
- Add a new tag. For illustration purposes, I selected the “Pitiyaletter” tag. What Pitiyaletter tag do in my Gist marketing software is that it sends out periodic emails related to blogging and marketing.
- Go to screen 1. After the user submits their email address, they will see the “Screen 1” interface. It happens instantaneously. No browser redirect whatsoever!
- Send an email notification to my email. If your lead page is about a high-ticket product or service, you can take immediate action right after a user signs up for your mailing list. For example, you can add a custom field, the Phone number the user has to fill out. As soon as someone, a potential customer, submits the form, you’d receive a notification email instantly.
- Execute JavaScript. And it’s getting more and more powerful as you can execute any JavaScript script. A few use cases are you can fire a conversion pixel (ex: Facebook lead) so that you can keep tracking CVR, CVV (Conversion value) on your tracking software, run a retargeting pixel (ex: Adwords, Pinterest, and Twitter ads pixel) and even show a Live Chat Prompt! (for more about setting up a live chat prompt, see my guide on Gist)
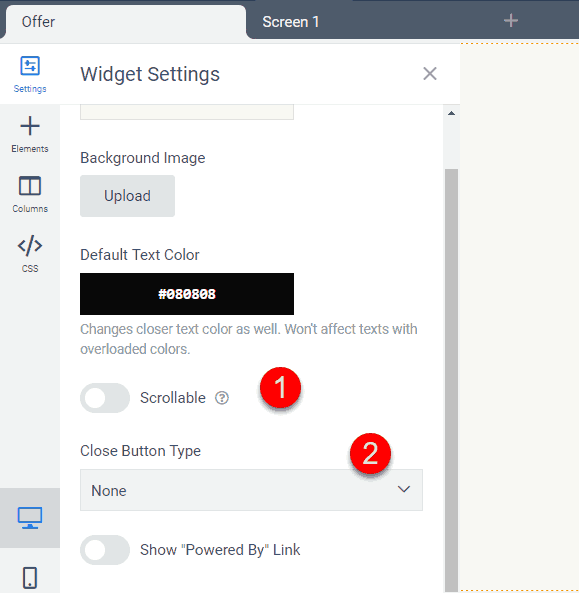
Now you don’t need to display the close button and scroll bar. Disable them by toggling buttons in the Widget Settings.
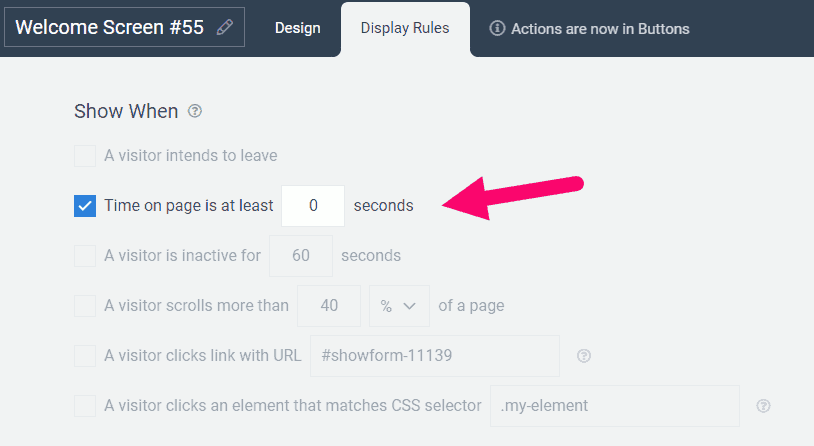
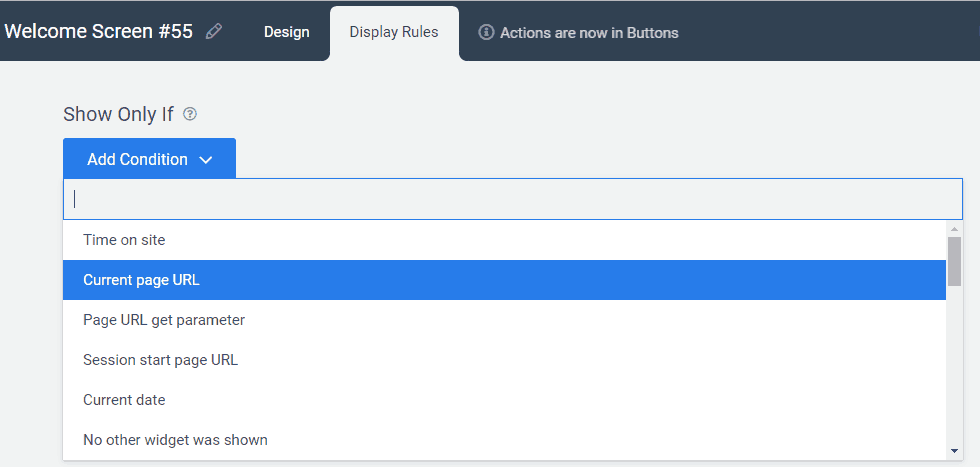
Once the Welcome Screen lead form is set up, click on the “Display Rules” tab at the top. And set display settings as below.
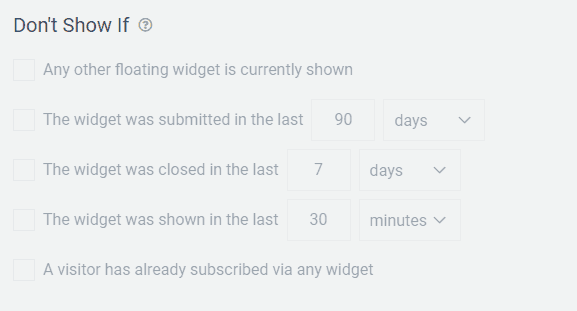
Also, you can disable (tick off) these options below to display the opt-in widget every time.
If you want to narrow your targeting or specify a specific rule, you can do it under the “Show Only If” section in the Display rules tab.
Once everything is set up, toggle the “Active” button to make your new Welcome Screen widget live.

You have done everything in Convertful so far. The last step is setting up your domain name.
Steps to Make Your Landing Page Goes Live
Go to Replug and create your account.
Now you have to do a few things first.
- Connect your domain
- Connect your Convertful account
- Create a brand
- Create a campaign
Connect your domain to Replug
Connect the custom domain that you used in Convertful. For example, here, I use a sub-domain address: i.chamal.co

Make sure that your domain is connected to Replug.

Connect your Convertful account

Copy and paste the Convertful widget code (JavaScript snippet). If you forgot your script code, you could get it over here.

Create a brand

Enter your website URL and website name.

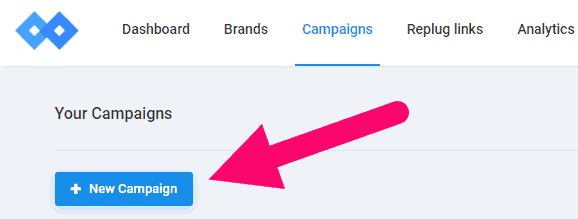
Create a Campaign
Click on the “New Campaign” button to start creating your first campaign.
Select your brand and then enter a name for your campaign. Make sure you have selected the custom domain name.

Select Convertful and save your campaign.

Now you have completed all the important steps. The next step is generating a URL for your new landing page.

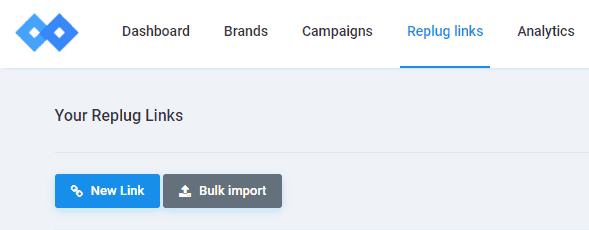
Generate URL for Convertful Lead form
Click on the new link button.
Select your campaign from the drop-down and copy and paste the following URL to the URL field.
https://1.bp.blogspot.com/-gQ9gHqwySS4/W90vRTtg_aI/AAAAAAAAGjc/8FCDU16cK1oLUrWN3NB73e3Odt1YQ30JgCLcBGAs/s100/123.png
Save your campaign. Edit the slug if you want.
Now your landing page is ready! 🙂
Check out the demo landing page that I created over here: https://link.upcontests.com/landdemo
That’s all!
Hope you’d enjoy reading the tutorial!
The most awesome thing is you can use ContentStudio to automate traffic and lead generation parts.
For more about scaling this method, refer to my article about making money with content you share online.
Don’t forget to read the ContentStudio review, which contains many tips and tricks to use social media marketing to your advantage!
So, try this and let us know your ideas in the comments below. 🙂