One of the key features that differentiates UpViral from other online giveaway software, such as SweepWidget, Viral Loops, Kingsumo, and Gleam, is the extensiveness of available embeddable options.
In fact, there are many ways to embed the UpViral widget on a website. However, if you find it difficult to display the UpViral giveaway on your website or if the UpViral widget is not loading as quickly as you need, this tutorial will be helpful to you.

Table of Contents
UpViral’s Widget Embeddable Options
UpViral offers unique features for embedding campaigns.

Under the “Embed campaign into your web page” section, you can specify on which pages you will be embedding UpViral opt-in and share widgets.

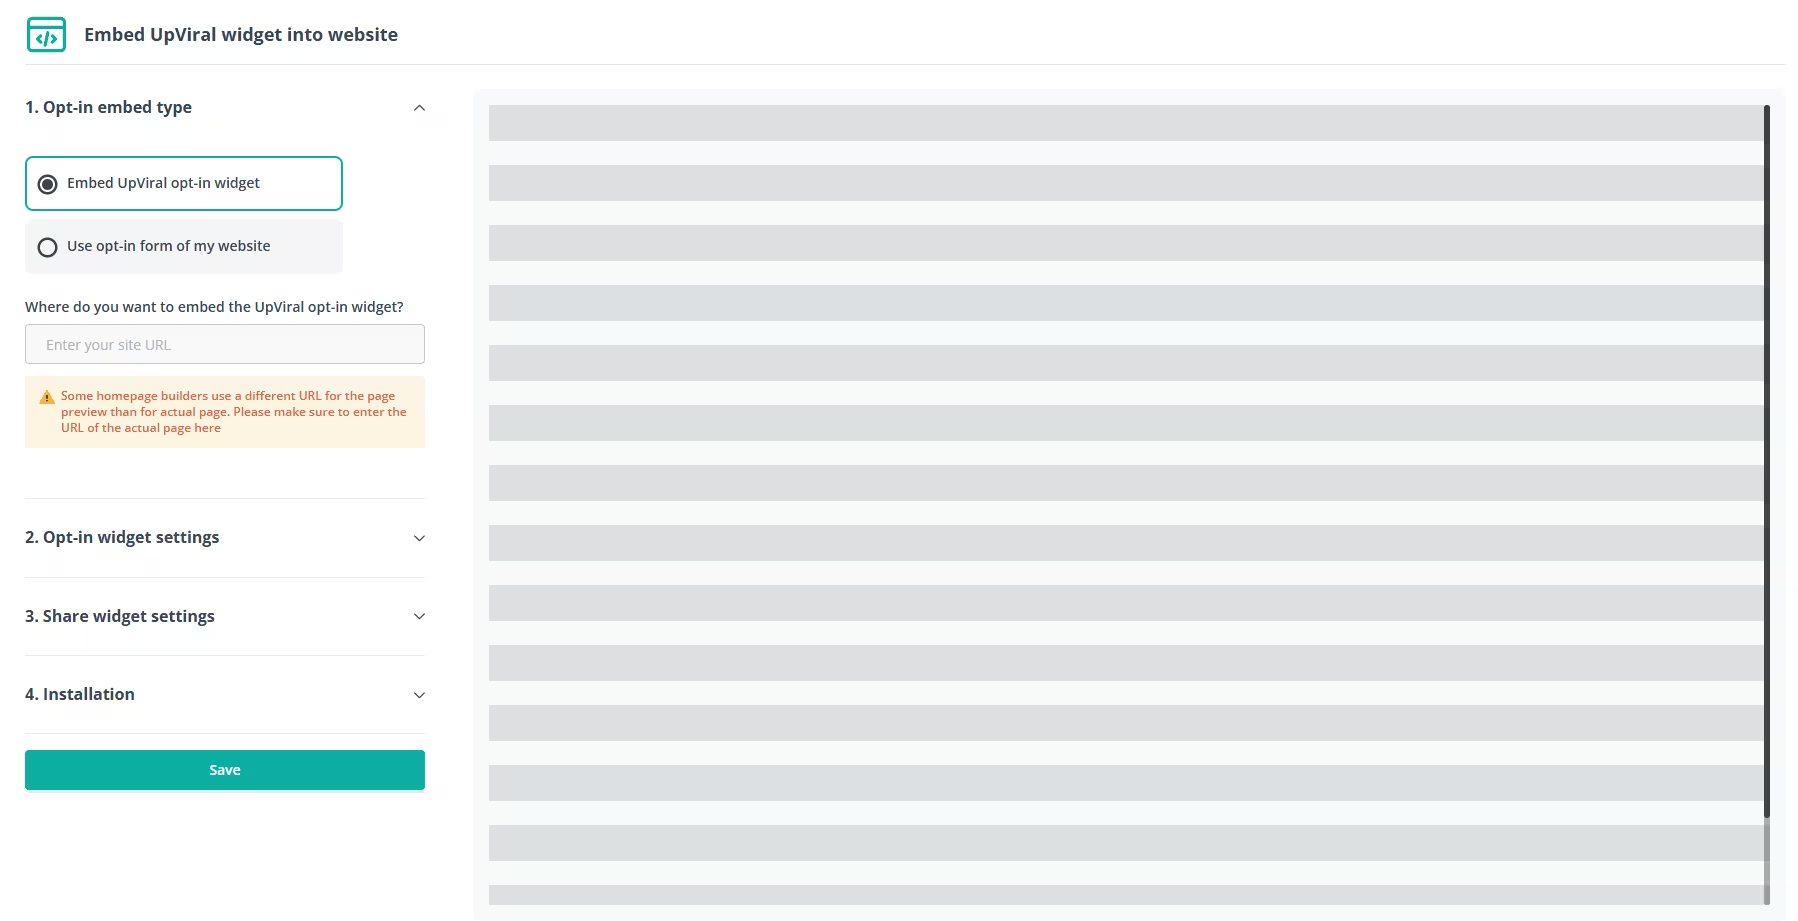
Click in the “Embed campaign on your website” box. Now, you will see a screen similar to the one below.

In the first step, under “Opt-in Embed Type”, you will find two options:
- Embed UpViral opt-in widget – Uses UpViral’s Opt-in widget that you can customize on the signup page editor.
- Use opt-in form on my website – Uses data from any opt-in form embedded on your website, such as Elfsight’s Form Builder.
Using UpViral’s Opt-in widget
This method is very easy to implement, and you do not need to use any form builder software. Enter the URL of your website where you will be installing the UpViral widget.

In the second step, Opt-in widget settings, you can select the preferred UpViral widget type.
There are three different ways to embed Upviral in your site.
- Standard
- Pop-up
- Popover

The Standard method is ideal if you prefer to use your landing pages instead of UpViral’s hosted pages. It’s the perfect option if you want to integrate your UpViral contest into an existing lead funnel.
Popups and Popovers are excellent options if you have created an evergreen rewards program and want to utilize your blog traffic to fuel the contest funnel.
Standard Method
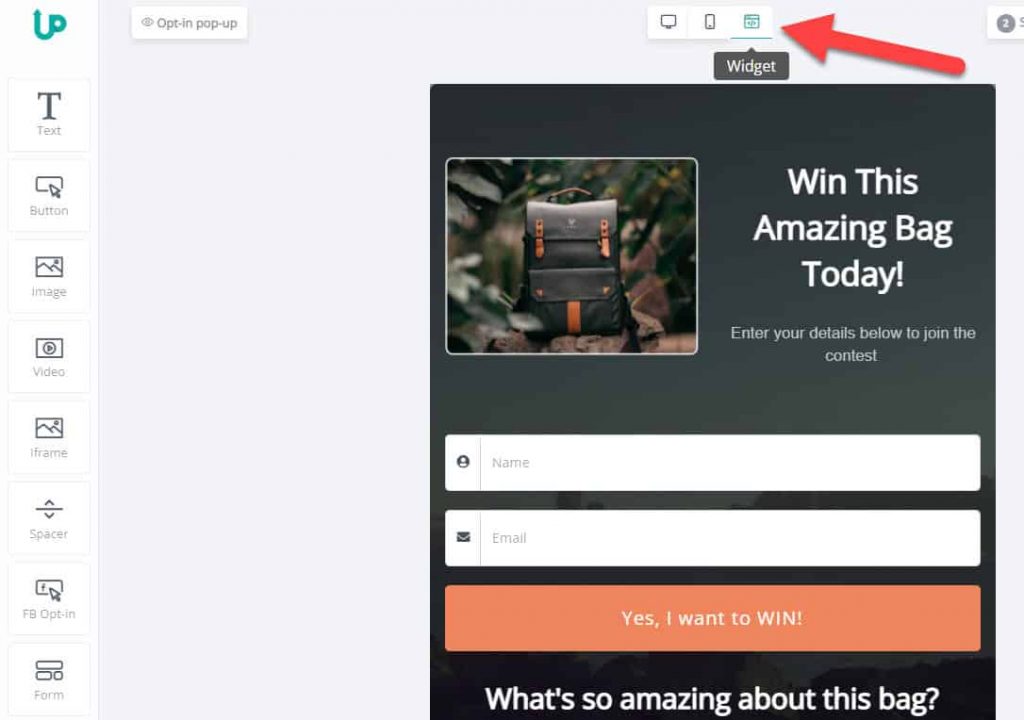
The very first and the most popular UpViral installation option is Standard. UpViral allows you to customize the unique look of the Standard Widget directly from your editor. See the screenshot below for reference.

You can change the widget and decide what to show and hide on it. Once the widget design and campaign are completed, you can embed the UpViral widget on your site.
Set up
Select the “Standard” option from the list under “Opt-in widget settings.” You can define the Widget’s width from here. UpViral widgets are mobile responsive. However, you can specify a width in percentage or as a specific pixel value.

Next, you have to set up the “Share Widget.” As you see, there are two options.
- The share widget is shown on the same page instead of the opt-in widget (refresh)
- Redirect to the following URL, where the share widget will be embedded

Both options have their strengths. For example, the first method is useful if your funnel does not have a lead capture option. It’s particularly used in areas where the lead is already captured via other means. The second option is the most popular of the two. If your funnel has both lead capture and thank you pages, it’s the option you must choose.
Tip:
If you want to send participants to the share page hosted on UpViral servers, enter the UpViral Share page URL under the field “Redirect to the following URL where the share widget will be embedded.“
Your thank you page web address will be similar to: https://upvir.al/1234567/thanks/CampaignName
On the fourth step, which is Installation, you will be provided two code snippets.

Now, paste the iframe HTML code and other script code where you want to display the Standard UpViral widget.
Pop-up
If you have a site that receives traffic, the Pop-up widget type could be a real game-changer for your business. Because, usually, Pop-ups have a higher lead conversion rate. Therefore, if you can build a really good contest funnel on UpViral, a Pop-up can make it go viral.
Set up Pop-up
UpViral lets you set up the Pop-up widget in several ways.

- Background Opacity allows you to control the transparency of the widget foreground.
- Enable or disable the appearance of pop-ups on page load
- Enable/disable the close icon of the pop-up
- Define how many days the pop-up should stay hidden if it’s closed by a visitor
Share widget and referral traffic control options are the same as the Standard widget, where you can direct where to show the widget and send traffic.
Install Pop-up

You will be given an HTML code similar to the one below. It allows you to convert a button or link into a call-to-action, where the pop-up will appear when it is clicked.
<a href="#uvembed129111">click here to open popup</a>I recommend placing the UpViral external JavaScript code within the < head> tag to load the UpViral pop-up without any issues.
Popover
The recently added widget type is Popover. It lets you display a chat widget-style widget on your site.
Set up Popover
The UpViral Popover settings allow you to customize the appearance of the widget and adjust its display options.

- Enter a compelling CTA text under the “Button title.” For example: Click Here to Win a 5-Day Trip to Hawaii.
- Customize button CTA color and icon.
- Choose your preferred popover mode. You can set it to display by default after a specific period, or you can choose to close it. If you select the closed option, the user will need to click on the widget to open the popover.
Installation
The popover widget script should be placed just before the </body> tag to ensure that other content loads first.

Using the Opt-in form on your website

Universal Capture
Universal Capture allows you to use existing forms on your website to gather data for UpViral.

Embed the JavaScript code within the body section of your website where the form widget is located. Next, click on “Test Embedding,” then select the “Refresh” button in the second phase to retrieve available form field data.
Once the form fields are provided, designate accurate form fields in your UpViral campaign to the form field values of your HTML form.
HTML form
HTML form code enables integration of UpViral with external platforms and online tools that do not currently support native integration with UpViral.
Here’s an example: I use the HTML form integration inside the Convertful form builder.

ConvertBox is another lead capture tool that allows you to connect tools through HTML form integration.

UpViral’s HTML form uses the HTTPS POST method. If your form builder or landing page builder does not support UpViral, you can easily integrate it by using the HTML code of the form.

Here’s an example HTML code for UpViral Opt-in form:
<form name='upviralForm129111' id='' method='post'
 action='https://app.upviral.com/site/parse_new_users/call/ajax/campId/129111/snippet_id/64ec828b07ff2'>
<div class='form-group'>
<label>Name</label>
<input type='text' name='name'  class='form-control' value=''>
</div>
<div class='form-group'>
<label>Email Id</label>
<input type='text' name='email' class='form-control' value=''>
</div>
<div class='form-group'>
<label></label>
<input type='submit' name='upviralsubmit'  value='Submit'>
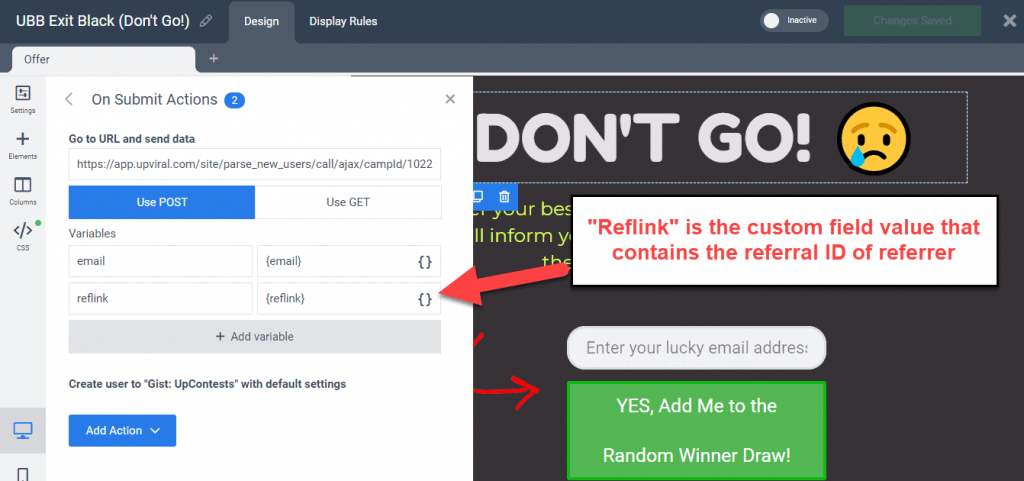
<input type='hidden' name='reflink' value=''>
</div>
</form>
Why does the UpViral widget not load?
There are two main reasons:
- UpViral script does not load prominently
- Other scripts or plugins conflict with the UpViral script
The best-case scenario is to insert the UpViral.js script inside the <head> HTML element and loading the UpViral widget above the fold before other elements do.
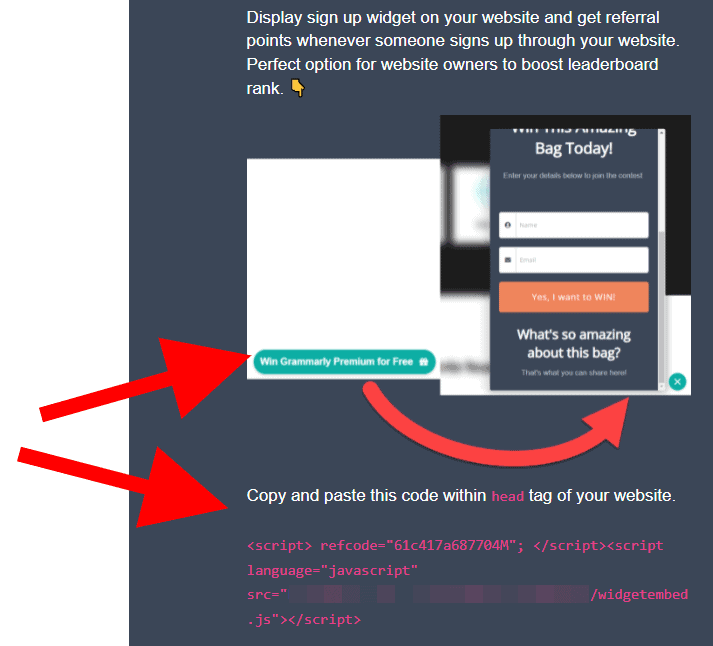
Embeddable UpViral referral widget
Now, you can let your contest participants display UpViral opt-in widgets on their sites and get referral credits whenever someone signs up through the widget installed on their sites. Please get in touch with Chamal directly for more details.

Have you got any issues?
In this tutorial, you learned how to embed UpViral widgets the right way. If you have any issues, please leave a comment below, and I’ll be happy to assist you in any way I can.
Also read: Top UpViral Integrations to Boost Your Campaign Success
